
Spring has finally made it and although the sunshine and flowers are a welcome sight, one chore that reigns supreme on my ‘To-Do List’ this time of year is Spring Cleaning!
With help from the internet, I set out to find some tips and tricks to get it done quick!
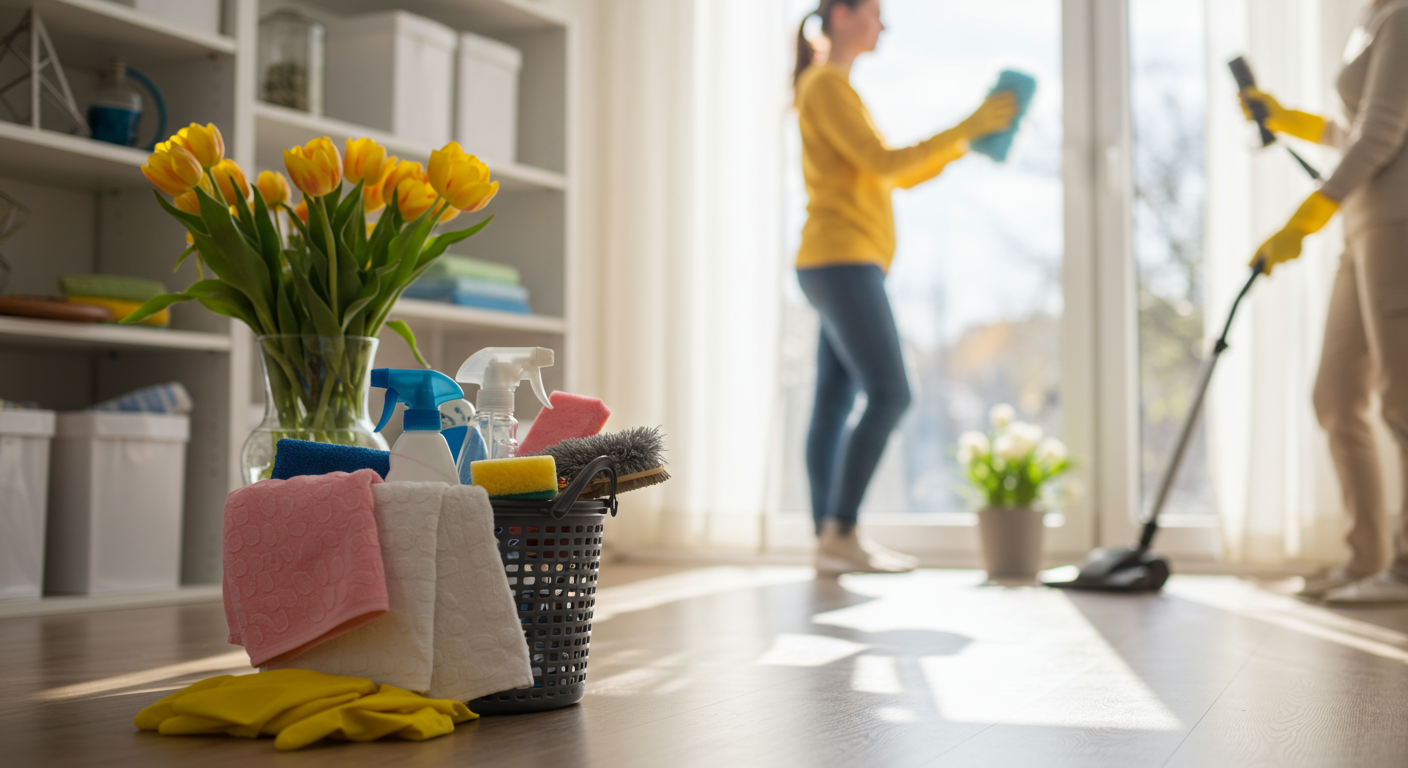
1. Where to Start - Make a Schedule
To determine where to start, really take a good look around your home: What areas need the most work? Is there a particular place where you stop during typical routine cleaning? Those are the best places to start. The next suggestion to stay organized is to have a schedule. This 30 Day Spring Cleaning Schedule from Good Housekeeping might prove helpful—if nothing else it lets you accomplish the task in smaller increments. No doubt a Room by Room checklist will also come in handy.
2. Out With the Clutter
It’s not surprising to learn that studies have shown that a cluttered home adds to your stress level. Dedicate some time organizing your closets—donate those clothing items that you haven’t worn. Spring clean your office and take thoroughly go through those junk drawers eliminating the unnecessary stress from your life.
3. Top to Bottom
When planning your Spring Clean Attack, it’s important to start at the top. Working from the ceiling down will you from having to re-dust or re-clean your space. Use the long extension wand of your vacuum to get cobwebs and dust from your ceilings and fans. Then dust your furniture and other items before vacuuming all the dust from your floors. Wondering what to do with your wood floors? Check out my previous blog for care tips and how you can make your own cleaner!
4. Sweeper or Vacuum?
Although most call it a vacuum, here in Pittsburgh we call it a Sweeper! A good deep “sweeping” is a core part of spring cleaning. During springtime is when people oftentimes shampoo the carpet or have it professionally cleaned. This spring, don’t just vacuum your floors. Use the attachments (like the crevice tool and dusting brush) and hoses to clean all over your house– clean ceiling fans, cobwebs in corners, furniture, pillows, etc. Get under and around your furniture as well.
5. Walls and Windows Need Attention Too
Don’t forget about the walls and windows. Remember Step #3, start from the top and work your way down. For painted walls: Just use a sponge or damp towel to wipe down walls. A clean mop might help with the higher walls. Window blinds can be wiped down with a damp paper towel or cloth. Be sure to remove and hose down the window screens—using soapy water and scrub brush if necessary. There are three steps when it comes to cleaning the glass part of the window
- With a simple homemade window cleaner consisting of dishwashing soap and water, scrub all dirt and debris from the glass using newspaper newsprint.
- Make sure the entire window is wet with your window cleaning solution.
- Using a lint-free towel, dry any leftover water from around the edges of the glass.
6. Drapes, Curtains, Pillows, Oh My!
Put your dryer to work and toss drapes, curtains, and even throw pillows in the dryer for 15 minutes on the “air-only” cycle, then rehang immediately to prevent wrinkles. For those specialty drapes, please follow the manufacturer’s directions. A great tip for lampshades is to use a lint roller or your vacuum with a dust brush attachment to get in the nooks and crannies.
The best part about spring cleaning is how the house feels afterward. It chases away the winter blahs and gets me excited for the fun in the sun that is waiting right around the corner.